How to homebrew:
In order to make a 40 pint kit up you will need the following equipment as a minimum:
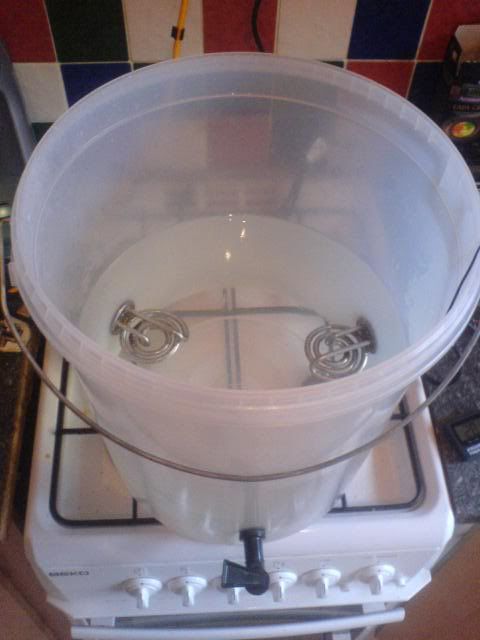
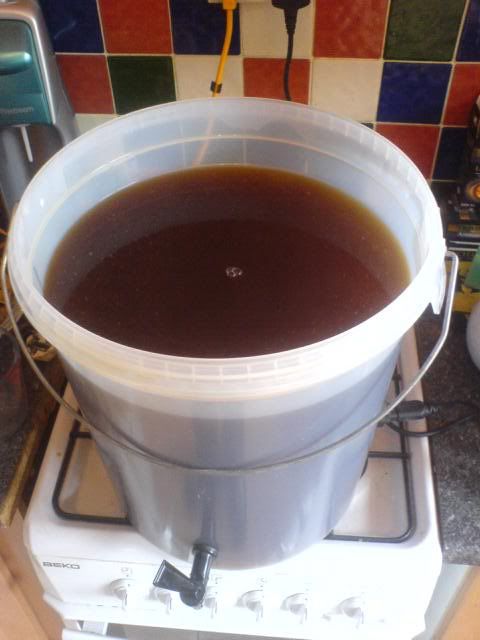
1) Fermentation vessel (Usually come in 30 litre+ sizes) Youngs do great rigid plastic ones with a wide screw lid as below

Screw Top Fermenter
I love this one despite it being harder to clean the next one is

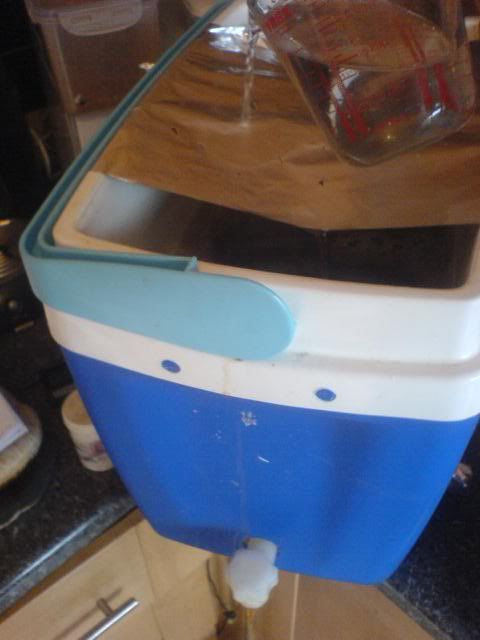
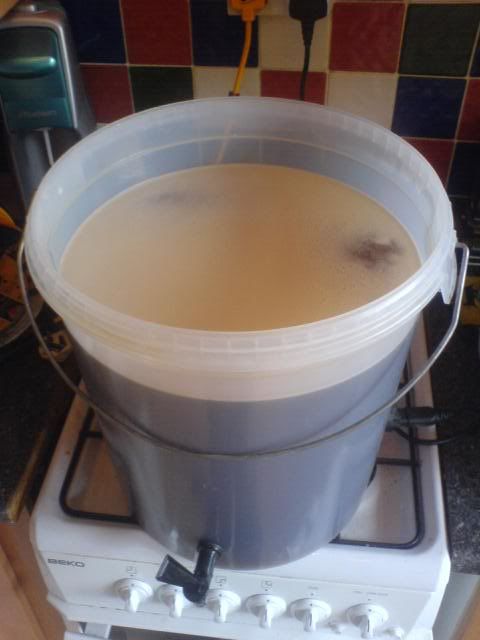
Budget Lid Fermenter
I just dont like these since its hard to make a hole for an airlock in the lid of this and if the lid gets warped forget getting it on.
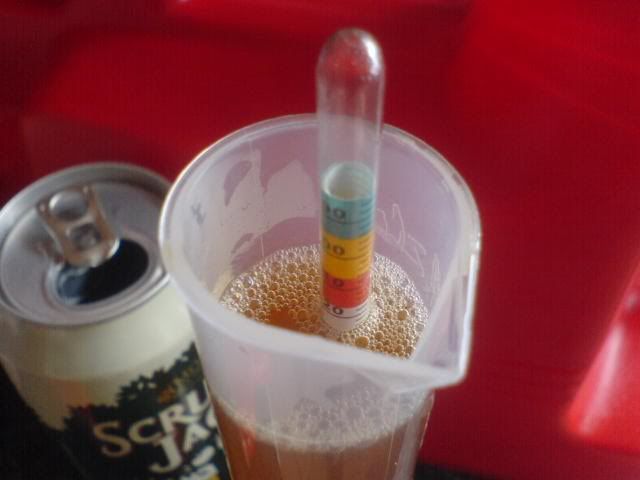
2) Hydrometer and testing jar
This weird thermometer looking thing is ESSENTIAL for brewing. It basicly measures the amount of sugars dissolved in a liquid (works by bouyancy) and so you can measure how far along a brew is, when its done and also how much alchohol will be in the beer in the end.

Hydrometer
Since you cant afford to waste a whole glass of beer when you want to take a reading you can get this (Buy a turkey baster to get it into the jar)

Plastic Trial Jar (no not that kind of trial jar)
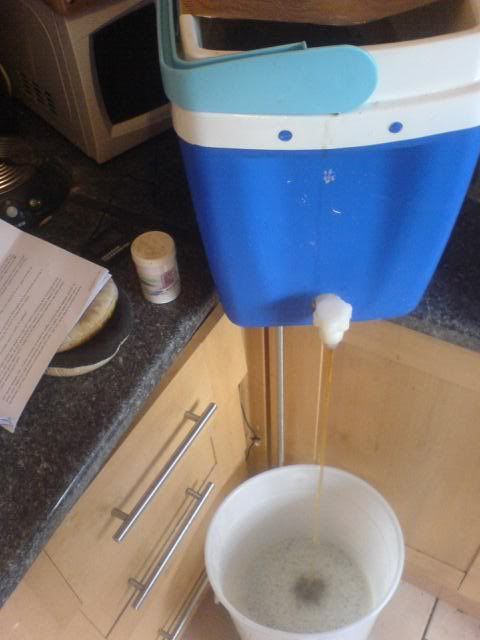
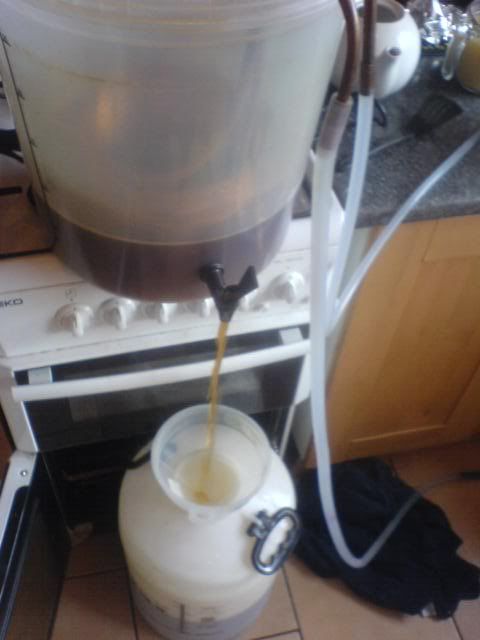
3) Syphon Kit
This is just a piece of pipe to allow you to drain from the fermenter into bottles/barrel. This one has a tap on the end which is pretty handy.

Syphon Kit
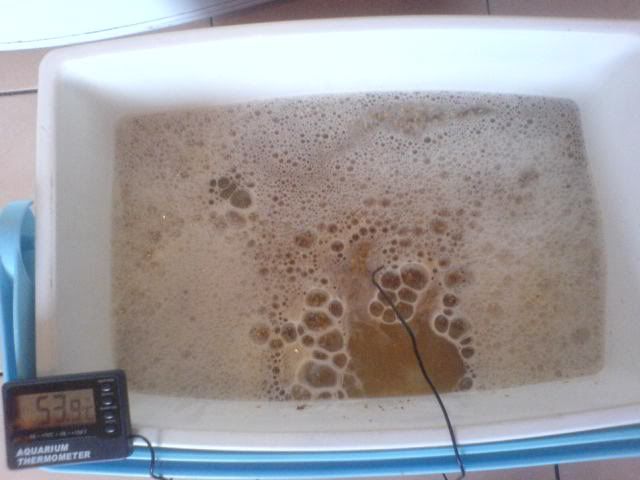
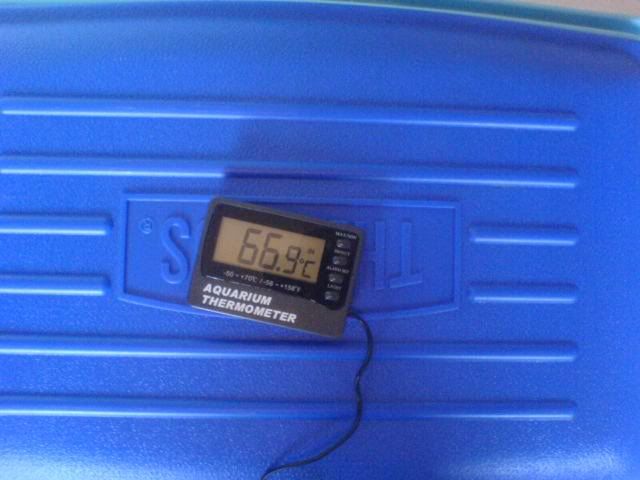
4) Thermometer
Since yeast can easily be killed by too hot (and too cold) tempretures a thermometer is essential to make sure when you pitch (or pour in) the yeast that it will be a good envoiroment to get going. More fancy digital ones can be obtained but in my opinion you will only need one of those for All Grain brewing (Brewing from raw ingredients)

Thermometer
4) SPOON
Fear the spoon. Stirrer of ales.

SPOON
5) Steriliser
Sterilising is the KEY to brewing, dirty equipment = dead yeast = dead beer and rank tastes.
Once you learn the basics of sterilising it’s quick and easy to be clean when brewing. Powdered sterilisier is usually a chlorinated compound or other stuff. Its cheap, toxic and easy to use.

Steriliser
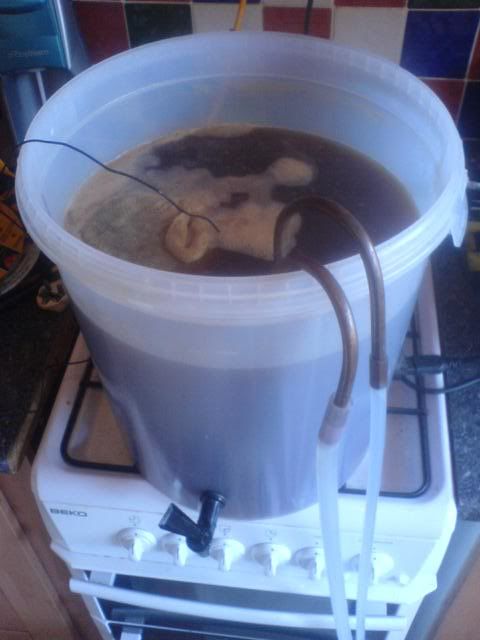
6) An airlock (depending on the fermenter above you are getting)
An airlock works to keep the carbon dioxide layer on the fermenting beer from all escaping too fast so as to protect the beer while its fermenting. It does this by restricting how much escapes, just enough not to blow the top off the fermenter or something. If you get the screw top fermenter as above then this will auto fit into it with the bung. If you got the lid version then its fine to just leave the lid open a crack and put a clean towel over the top.

Airlock
7) Fermentable Sugars
The theory of having brewing works will be covered later. All you need to know now is that to brew you need sugar in one form or another, these are the options (in ascending order of price)
1) Cane Sugar
Bog standard sugar. This will convert quite easily to alchohol. However the taste is thinist and most “antiseptic” of all options. Very cheap however.
2) Glucose (Or Brewers Sugar)
This is a white powder and converts VERY easily to alchohol and generally gives a much cleaner flavour than cane sugar. I would recommend this at the very least as it is quite cheap also. Good for lagers/ciders.
3) Beer Enhancer
Wilko/Hop and Grape sell this, its basically a mix of glucose and malt. To give BODY (from the malt) and ABV (Malt and Glucose). These are very convinient and cheaper than all malt (Approx 4.99 a bag in Wilko)
4) Spray Malt
Generally come in packs of 500g (you need 1kg for most cheaper kits, remember expensive 1kg kits require NO sugars)
This is the apex of sugars, it adds body, makes a nice head on the beer and stops beer feeling thin. Tastes great. Approx 6.99 for 1kg
In short brewing with regular sugar will give drinkable beer
Glucose will give a cleaner tasting beer but still be a bit “thin”
Beer enhancer is the best option for a novice as it gives great beer at a fair price
Spray Malt is for when you are fairly serious about the beer your making. This can give comparable results to a pub. At a price. A standard kit with this can cost about 16-18 quid to make but can be GREAT.
I’ll write a bit more here since this is quite a crucial decision to make since the outlay for these is quite significant compared to other stuff.
8 ) Bottles and Barrels
Bottles:
Pros:
Allow you to more easily refrigerate your ale (Important if you want pale ale/lager)
Beer gets fizzier quicker (Again important for sparkling ales or lagers/ciders)
Easy to store
When you drink beer from the store then it’s free containers for you
Cons:
Cleaning is labour intensive require cleaning and rinsing of possibly 40 or more bottles!
Filling bottles without a bottling stick can be very messy (But with one is very EASY and quick ) This item fits on the end of the syphon and has a valve which when pressing against the bottom of a bottle will dispence and stop when lifted)
In isolated cases where beer is overprimed (priming is where small amounts of sugars are left to ferment in the bottle to give it fizz) bottles can explode. If you take care when bottling this will never happen.
In short bottles are great if you can be bothered. You can more easily give the beer to people also but cleaning, filling can become a pain.
If you go this route you will need a bottle capper which crimps crown caps onto the top of the bottles. Dont bother with a hammer on one, sometimes technology advances are for the better. You can get these
Bottle Capper
Caps
Pressure Barrell
Pros:
Holds 40 pints
Allows you to dispense into glasses easily
Beer matures better with other beer meaning the final product of the barrel will be superior in flavour to bottles
Ace for BBQ’s
Look cool
Cons:
Expensive to buy to begin with
Takes a while to prime (But the idea of homebrewing is to let beer mature for 3-4 weeks. If this is done the barrel will be nice and primed)
HEAVY WHEN FULL *_*
Its a real pain when one gets a leak (Sometimes however its simple like the seal on the lid or something)

Barrel
For a someone who really likes their beer i would reecommend the pressure barrel. Beer just matures better with other beer around it, with this you will get a more “pub flavour”. 20 quid sounds pricey but i simply cant bear filling, cleaning and storing all those bottles. This is priceless in my opinion.
Outlay:
Ok so your probably thinking how much will all this cost me?? Well most homebrew places will offer a “Starter Kit” which are ACE for getting going (how i started) and they contain most of the above for a fraction of the cost.
Wilko do:

Cheap Starter Kit
22 quid for that is ace since the fermenter is about 7 quid, theres a hydrometer and trial jar, syphon kit AND a beer kit inside which are 9 quid each) At the moment wilko have certain kits with TWO free inside.
Hop and Grape do a great selection (they deliver too)
Bunch of starter kits from Hop and Grape
The coopers one is INCREDIBLE for people who want to bottle since it comes with a bunch of REUSABLE plastic bottles with screw caps.
The “Quality” one is mainly referring to the fact this comes with an “All malt” kit which basically means the kit is an expensive one and you dont need to add sugar to it. Some of these kits taste close to pub beer.
Personally I would just accept the fact that the outlay for home brewing isnt exactly cheap but by the time your doing your second brew it will already be TONS cheaper than buying beer.
I’ll do some basic calculations for comparison:
KEG ROUTE (Expensive way)
Quality Starter (the hop and grape one) 44 quid
Pressure Barrel 20 quid
Total: 65 quid lets say.
First brew will yield 40 pints of decent quality kit brew for 65 pounds which equals 1.65 a pint approx. Ok thats not great. But lets consider brew 2 (assuming a 20 quid expensive kit)
That will come out at….: 50p a pint. Now THATS CHEAP and every brew from now on will be that much.
KEG ROUTE (Cheap)
Youngs Starter Kit from wilko 22 quid
Pressure Barrel 20 quid
Total for 1st brew: 1 quid per pint approx
Total for 2 brew: 50p a pint
BOTTLE ROUTE Expensive way (With coopers set w screw lids)
Starter from Coopers 80 quid
First brew = 80 divided by 40….. OOOH 2 quid a pint
2nd brew onwards = 50p a pint
BOTTLE ROUTE Cheap way (own bottles collected)
Starter kit from youngs 22 quid
Bottle Capper 9 quid
Bottle caps 1 quid
Total: 31 quid
Total per pint for 1st brew: 77p a pint
Total per pint for 2nd brew 50p a pint
CONCLUSION:
In my opinion brewing is such a USEFUL hobby since you wouldnt be here if you didnt drink a “fair” amount so its safe to assume you will continue such a useful and productive hobby. In short i would get the most expensive solution from the above your funds allow.
I prefer the barrels and have 3. Which allows me to have 1 beer to drink, 2 to mature.
Any questions please leave comments